Find Your North in the Mountains

Today we explore compass and map—analog navigation skills for mountain travel—so you can move with confidence when batteries die and paths disappear. Learn to set magnetic declination, read contours like sentences, take precise bearings, pace distances, and resection your position from distant peaks. With practical checklists, lived stories, and field-proven habits, you will transform a simple baseplate and a topographic sheet into trustworthy partners that guide decisions, protect energy, and bring you home even in stubborn cloud. Share your field notes with us and subscribe for fresh, practical drills.

Essential Tools, Setups, and Assumptions

Choosing a Reliable Baseplate Compass

Seek a needle that settles quickly without bubbles, a bezel with crisp one-degree clicks, and a declination screw you can trust with gloves. A straight, rulered edge speeds plotting, while a clinometer estimates slope and avalanche exposure. Test night visibility, lanyard security, and overall durability before remote commitments.

Selecting the Right Topographic Map

Scale determines detail and planning rhythm. A 1:25,000 or 1:24,000 map reveals small gullies and subtle spurs; 1:50,000 favors big-picture legs. Check contour interval, publication date, datum, and grid. Laminate or bag it, fold access points smartly, and mark water, hazards, and emergency exit lines.

Preparing for the Field

Trace the intended line lightly in pencil, then highlight attack points, catching features, and handrails you will trust in mist. Record bearings and distances between legs, note bailouts, and pre-calc backbearings. Stow a waterproof notebook, spare map section, romer card, and short cord for wind-proofing.

Magnetic Declination Made Practical

Magnetic north seldom matches true, and the mismatch changes across regions and years. Learn to set adjustable declination on your compass so your bezel speaks truth without mental conversions. When adjustment is unavailable, master quick additions and subtractions. Verify local values through reliable services, and annotate maps with arrows and notes that age gracefully.
Turn the tiny screw or slider until the orienting arrow offsets by the published angle for your area, east or west as indicated. Practice with gloves, confirm with a second reference, then lock the setting. Recheck monthly, and always after travel across significant longitude.
Develop a mantra that prevents reversed signs. For east declination, add when going map-to-field, subtract when field-to-map; reverse for west. Write the rule on your notebook’s inside cover. Drill with sample bearings until fluent, then test accuracy on an easy, familiar hill.
Declination can drift noticeably over a handful of years. Source values from official calculators, national mapping agencies, or reputable guidebooks, then compare. Print the number on your map margin with the date. During multi-day traverses, avoid changing procedures mid-trip unless verification feels rock-solid.

Taking and Following Bearings

Bearings convert landscape complexity into a crisp, repeatable line. From map to field, align the compass edge on your route, rotate the bezel, correct for declination, then sight a clear target. In fog or forest, use leapfrogging partners, handrails, aiming off, and backbearings. Measure distance with pacing so precision survives poor visibility.

Reading the Story Hidden in Contours

Contours are narrative lines describing shape, slope, and consequence. Learn to see ridges as U-shaped Vs pointing downhill, reentrants curling upslope, and saddles bridging basins. Spacing signals gradient; aspect tells sun and wind. These clues steer route choices, conserve energy, reduce avalanche exposure, and help locate water, camps, and emergency shelters.

Identifying Handrails, Catching Features, and Attack Points

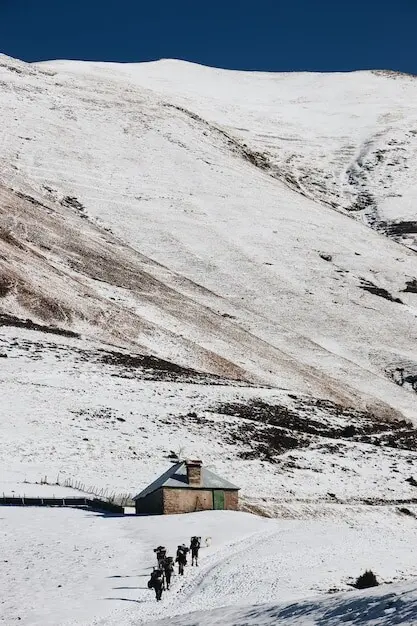
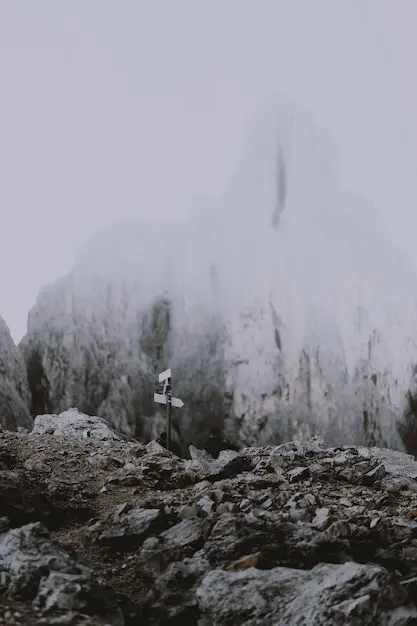
Rivers, ridgelines, fence lines, and valley floors serve as magnificent handrails that guide steady progress. Choose catching features—lakes, cliffs, broad saddles—that will stop you if you drift. From there, launch short, precise approaches to attack points only a few hundred meters from your objective for final accuracy.

Estimating Time and Effort with Naismith’s Rule

Naismith’s classic estimate—one hour per five kilometers plus one hour per six hundred meters of ascent—offers a grounded baseline. Refine with Tranter or Langmuir adjustments for fitness, descent difficulty, and fatigue. Compare actual splits to predictions, then adapt plans, snacks, and water to match the day’s unfolding truth.

Avoiding Traps: Gullies, Cliffs, and Cornices

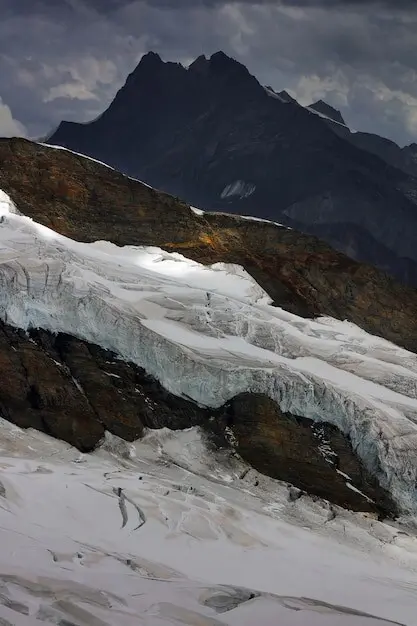
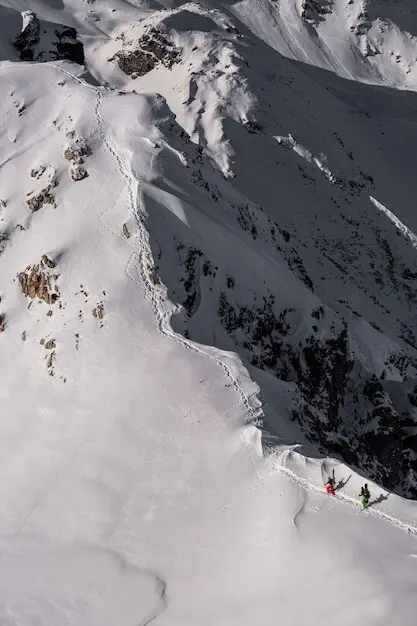
Contours that stack tightly with enclosed tick marks often signal cliffs; abrupt line breaks can hide drop-offs. In winter, wind-loaded lee slopes sculpt deceptive cornices that overhang voids. Favor conservative ridgelines, probe suspicious edges, and use a clinometer plus snowpack clues to reject alluring yet hazardous shortcuts.

Pacing, Timing, and Dead Reckoning

When features hide and trails vanish, disciplined distance tracking preserves orientation. Calibrate personal pace counts for varied slopes and surfaces, then tie numbers to one-hundred-meter chunks using simple beads. Combine timing, estimated speed, and bearings to predict arrivals, detect drift early, and pause confidently when reality disagrees with expectation.

Building a Personal Pace Table

On flat ground, count double-steps over multiple one-hundred-meter segments, averaging results. Repeat on gentle climbs, steep ascents, descents, snow, and talus. Record values in a waterproof card for quick reference. Expect fatigue, pack weight, and altitude to inflate counts, and adjust conservatively as the day progresses.

Using a Route Card and Leg Notes

Write each leg’s start point, destination, bearing (true and magnetic), distance, expected time, catching features, and hazards. Add bailouts and safe regroup spots. Share copies across the group. As you travel, annotate actual times and observations, building a feedback loop that sharpens decisions as conditions evolve.

Night and Whiteout Strategies

At night or in driving snow, shrink your world to manageable increments. Keep spacing tight, assign a bearing keeper and a pacer, and communicate loudly. Choose handrails over cross-country shortcuts, favor gentle terrain, and schedule deliberate checks each hundred meters to catch drift before it compounds.

When Plans Change: Creating and Using Bailout Routes

Before departure, identify conservative exits that drop toward roads, huts, or valleys with clear handrails. Mark bearings, distances, and elevation losses. In deteriorating weather, commit early, not late. Pride can wait; daylight and energy cannot. Debrief afterward, updating maps and notes for sharper future judgment.

Communicating Bearings and Roles in a Group

Assign a navigator, pacer, and rear safety. Speak bearings twice, then confirm with a backbearing. Hand signals and whistles help when wind swallows voices. Encourage questions, rotate roles to manage fatigue, and keep decisions transparent so quiet doubts surface before they become problems.

A True Tale: Finding the Pass in a Whiteout

Cloud welded our party to a ridge, erasing landmarks within minutes. We paused, took two peak bearings through swirling gaps, resectioned to a small triangle, then aimed off intentionally toward a safe stream. Pacing, timing, and a catching saddle delivered us to camp with calm, unhurried relief.

Zoridaxisentolori
Privacy Overview

This website uses cookies so that we can provide you with the best user experience possible. Cookie information is stored in your browser and performs functions such as recognising you when you return to our website and helping our team to understand which sections of the website you find most interesting and useful.